You Spent $1,800 on Parts, Pressed the Button, and Got Nothing
Fans and RGB work, but there is no display or beep. Log one change at a time, check power and RAM, bench-test, read POST LEDs, and verify BIOS support.


The fans are spinning, which is the part that's confusing you
It is 2:40 in the morning. The side panel is off, the desk is covered in anti-static bags and zip-tie offcuts, and the pile of parts came to about eighteen hundred dollars — eight months of saying "nah, I'm good" to things you wanted.
You press the button; the fans spin and the RGB performs its little rainbow sweep. The monitor says No Signal, thinks about it for ten seconds, and goes to sleep.
You do not hear a beep.
And somewhere around the fourth time you pressed power hoping for a different outcome, your brain reached a verdict: you killed something. You suspect static from when you were holding the CPU over the socket, or a bent pin you cannot see — something expensive, damaged by your own hands and not fixable.
Set that verdict aside for a minute. Static damage is possible, but it sits near the bottom of a list led by some version of a connector isn't fully seated or the RAM is in the wrong two holes.
Use a test procedure before judging the hardware
The next hour usually follows a recognisable pattern. You reseat the RAM, unplug and replug the GPU, swap the monitor cable, clear CMOS, and hit power. The result is still nothing, and then you change four things at once.
Forty minutes later you genuinely cannot answer the question "have you tried it with one stick in the second slot and the graphics card out?" Your answer is maybe, at some point, but you are not sure; that uncertainty has now become part of the problem.
This is what the fifty-reply forum thread never fixes. It's full of people who know a great deal about hardware throwing a dozen suggestions at you at once, and you are a frightened person at 3am with no way to keep track of what you've already ruled out. What you are missing is a procedure, not knowledge.
Start a log on real paper or in a note on your phone. Give every attempt one line recording what you changed and what happened. Change only one item per attempt. You may be tempted to skip the log. Without it, people end up RMA'ing a motherboard that works.
Four boring things, and "I checked" doesn't count
The CPU power cable. This is separate from the large 24-pin connector: it is the 8-pin cable — sometimes 4+4, sometimes two of them — that goes into the top corner of the board near the CPU. It's an easy one to get wrong, and it produces exactly this symptom — fans spin, nothing on screen. It's also the hardest connector to seat — worst position on the board, usually reached after the cooler's already on, and it clicks in a way that feels convincing before it's home. Remove it and seat it again until the latch is fully engaged. If your power supply is modular, check the other end too, and check you used a cable labelled CPU or EPS rather than one labelled PCIe — on some units they'll physically go into each other's sockets, and that ends badly.
Which port the monitor is in. When you have a graphics card, connect the monitor to that card rather than the motherboard's rear-panel ports. And if your CPU has no integrated graphics, those motherboard ports were never going to output anything at all, on any day, ever.
The memory slots. Two sticks almost never go in the two slots closest to the CPU. On most boards it's the second and fourth counting outward — but "most boards" isn't good enough at 3am, so open the manual, find the memory population table, and match it exactly. Then push harder than feels polite. Confirm that both clips are down.
What's under the board. A brass standoff screwed into a hole your motherboard doesn't have will short it against the case and produce exactly this symptom. Compare the standoff count and positions with the board's actual screw holes.
Take it out of the case
You have just spent two hours managing those cables, so taking the build apart feels brutal.
Build it on the motherboard box instead: board on the anti-static bag on top of the cardboard, CPU, cooler, one stick of RAM in whichever single slot the manual specifies, graphics card, 24-pin, CPU 8-pin, monitor cable. Leave out the storage drives, case fans, and front-panel connectors, with nothing else plugged in anywhere.
A bench build gives you two useful results at once. It removes the case as a suspect — shorts, standoffs, a front panel power button wired to the wrong pins — and it means you can reach everything with both hands instead of through a hole the size of a paperback.
Start it by briefly touching the two PWR_SW pins on the front panel header with a screwdriver tip. The manual shows you which two. A case power button performs that same brief contact.
If the system POSTs on the box, you've learned something enormous: none of your parts are dead, and the fault is in the case. Return it to the case one component at a time.
The system that looks dead and isn't
A first boot can sit dark for far longer than you expect while the board trains the memory, and a first boot after a CMOS clear can sit dark longer still, because the training starts from scratch. Four sticks or a high-capacity kit slows it down again. Wait several minutes before drawing a conclusion.
Use a timer for this test. Power it on, leave the room, and return after five minutes. The wait will feel absurd, but let the timer finish.
While you're there: if you switched on the memory's XMP or EXPO profile, turn it off for now. Rated speeds aren't guaranteed on every kit-and-board pairing, and a build that won't post at the advertised speed often posts fine at the default. Leave performance tuning until tomorrow.
Read the lights before you read anything else
Most current boards have four small diagnostic LEDs by the edge — MSI calls them EZ Debug LEDs, ASUS calls them Q-LEDs, and other makers have their own name. ASUS's Q-LED troubleshooting guide says a light that stays on corresponds to the component most likely involved and separates the indicators into CPU, DRAM, VGA and BOOT. They're labelled roughly CPU, DRAM, VGA and BOOT, and they light in that sequence as each stage passes. The LED that remains lit identifies the stage where POST stopped.
Stuck on DRAM means it never got the memory working — which is a slot, a seating, or a speed problem far more often than it is a dead stick. Stuck on BOOT means the processor, memory and graphics all passed, which is genuinely good news; you're now troubleshooting a display or storage problem, not a corpse.
Silence also needs a hardware check. Your board may well not have come with a speaker at all, in which case silence tells you nothing either way. Check the accessories bag for a speaker before treating silence as evidence.
The failure that looks exactly like a dead CPU
This failure can happen when you put a new processor in a board manufactured before that processor existed. The firmware doesn't recognise what's in the socket, so it never gets far enough to put anything on screen. Every part is perfect. The board just doesn't know what it's holding.
You see this on sockets spanning several processor generations, which is why forums often suggest borrowing an older CPU.
If your board has a BIOS flashback feature — ASUS BIOS FlashBack, MSI's Flash BIOS Button, Gigabyte's Q-Flash Plus — you may be able to update the firmware without a working processor in the socket. For that process, connect the board to the power supply and put the correct file on a FAT-formatted USB stick, renamed exactly as the manufacturer's support page tells you, in the one specific rear port they specify. ASUS's official USB BIOS FlashBack instructions require a FAT16 or FAT32 USB drive, the model-specific BIOSRenamer filename, and the rear USB port marked for BIOS FlashBack; the indicator light turns off when the update finishes.
ASUS, MSI and Gigabyte each document their own version on their own support pages, and the requirements aren't identical between makers — including whether a CPU needs to be present at all. Follow the instructions for your exact board instead of a video about another model. The file naming and the port both change between boards, and getting either wrong just does nothing at all, silently, which is a miserable way to spend twenty minutes.
Without a flashback button, you need a supported CPU to enter the firmware and update it.
About the static, since it's what you're really asking
Electrostatic damage can happen, but it is not the likely explanation for the general symptom "fans spin, no display."
On current Intel and AMD desktop sockets the pins are in the socket rather than on the underside of the chip, so if there's bent-pin damage it's visible. Get a phone flashlight, hold it low and to the side so the pins cast shadows, and look along the rows for one that's out of line. Inspect the rows without touching the pins. And if the retention lever went down with normal effort and the CPU dropped into place without being forced, that's a decent sign in itself.
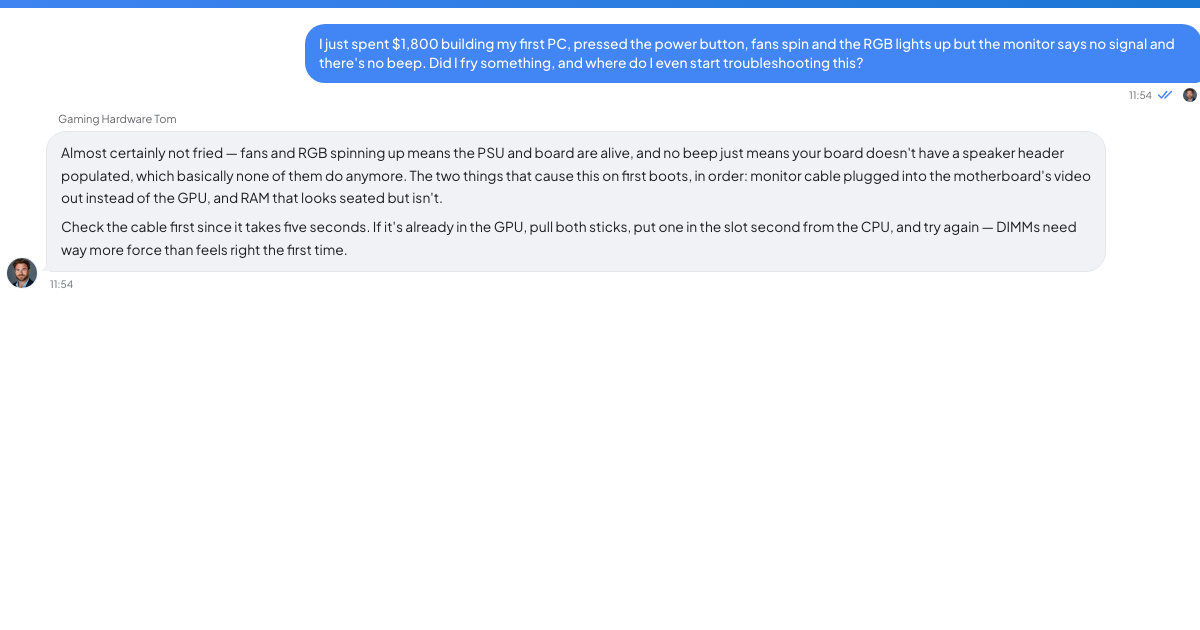
If you want a second opinion while you work through it, TrueTalk has an AI advisor called Gaming Hardware Tom, written as a gaming hardware specialist and tech reviewer covering PC building and performance tuning. He's an AI persona rather than a human technician, and he's there at 3am when no human is. The free tier includes ten conversations and one hundred messages per day. It is useful for talking through what your debug LED is doing and what you've already eliminated. He can't see your bench, so what you tell him is what he has to work with — which is another argument for keeping that log.
One more thing, and then go to bed if you need to. The fear here isn't really about the money, though the money is real. It's that you tried something difficult on your own and it didn't work on the first attempt, at an hour when everything feels permanent.
Very little of tonight's work is irreversible. You can reseat connectors and update firmware, and parts that were fine an hour ago are still fine now.
In the morning, begin at the top of the list and document one change at a time.